Hood cleaning before and after photos should prove the condition your crew found, the areas they cleaned, and any issue that still needs the customer’s attention.
Photos are often the clearest part of the report for a restaurant manager, property manager, insurance contact, or fire marshal. If the images are complete, labeled, and tied to the right exhaust system, the report is easier to trust. If the crew misses the fan, duct access, or deficiency photos, the office has to explain the job with weak evidence.
Use this checklist to make every photo set report-ready before the crew leaves the kitchen. For a job-specific version, use the free hood cleaning photo checklist generator. For the full written structure, pair it with the hood cleaning inspection report checklist and the commercial kitchen hood cleaning checklist for crews.
Hood cleaning before and after photos
Every hood cleaning report should include matching before-and-after photos for the parts of the system that were inspected, cleaned, or found deficient.
At minimum, capture:
- Hood exterior and cookline
- Hood plenum
- Filters, filter tracks, grease troughs, and cups
- Duct access openings
- Accessible duct sections
- Exhaust fan bowl
- Fan blades
- Fan curb and hinge condition
- Rooftop grease path and containment
- Inaccessible areas
- Deficiencies and unsafe conditions
The goal is not to take the most photos possible. The goal is to capture a complete, understandable record of the job.
Start with the same angles every time
Before-and-after photos work best when the customer can compare the same area from the same angle.
Train crews to take paired shots:
- Hood plenum before cleaning, then hood plenum after cleaning
- Filter bank before removal, then filters or replacement filters after service
- Duct access before cleaning, then the same access point after cleaning
- Fan bowl before cleaning, then fan bowl after cleaning
- Rooftop grease containment before service, then the same area after service
When possible, keep the same distance and orientation. A closeup before photo and a wide after photo may both be true, but they do not create a clean comparison.
Photograph each hood system separately
Multi-system kitchens need separate photo sets. Do not mix photos from the main cookline, prep hood, dishwasher hood, and rooftop fans without labels.
For each system, record:
- Hood or cookline name
- Fan ID or roof location
- Duct access points used
- Before photos for that system
- After photos for that system
- Deficiencies tied to that system
Example labels:
- Main cookline hood - plenum before cleaning
- Main cookline hood - plenum after cleaning
- EF-1 fan bowl - before cleaning
- EF-1 fan bowl - after cleaning
- Prep hood duct access - after cleaning
If the customer has its own naming convention, use it. Store numbers, fan tags, and building labels make the report easier to match to inspection records later.
Capture hood and plenum photos
The hood and plenum photos show the visible work the customer is most likely to recognize.
Capture before and after photos of:
- Hood interior surfaces
- Plenum
- Filter tracks
- Grease troughs
- Grease cups
- Heavy buildup in seams, corners, or low points
- Any area excluded from the approved scope
Avoid photos that are too close to understand. A good photo shows both the condition and enough surrounding context to identify the location.
Capture filter and removable part photos
Filters are a common source of customer questions because they are easy to inspect after the crew leaves.
Document:
- Filter condition before removal
- Damaged, missing, or wrong-size filters
- Filters after cleaning or replacement
- Filter track condition
- Grease cup and trough condition
- Parts left out of service because they need replacement
If a filter is damaged or missing, list it as a deficiency rather than blending it into normal cleaning notes.
Capture duct access photos
Duct photos help prove how far the crew could inspect and clean beyond the visible hood.
For each access point, capture:
- Access panel location before opening
- Interior condition before cleaning
- Interior condition after cleaning
- Panel, gasket, latch, or leakage problems
- Blocked, missing, or unsafe access
If the crew cannot access a duct section, the photo set should support that note. A clear image of the missing access panel location or blocked access area is stronger than a vague comment in the report. For wording examples, use the guide to documenting missing access panels in a hood cleaning report.
For access-specific wording, use the NFPA 96 hood cleaning requirements guide to keep documentation practical and careful about compliance language.
Capture exhaust fan and rooftop photos
Fan and rooftop photos are often the most important evidence in the report because they show whether the system was serviced above the kitchen ceiling.
Capture before and after photos of:
- Fan bowl
- Fan blades
- Fan curb
- Fan hinge and hold-open hardware
- Fan drain or grease path
- Grease containment
- Roof surface affected by grease
- Electrical, structural, or weather-related concerns
If the fan cannot be opened safely, document the condition and explain the next step. “Fan not cleaned” is not enough for a useful report.
Example:
EF-2 fan could not be opened safely because hinge hardware was missing. Fan bowl condition could not be verified. Recommend approved hinge repair before next service.
That note gives the customer a specific issue to approve, repair, or discuss with the authority having jurisdiction.
Photograph deficiencies separately
Deficiency photos should be easy to find in the final report. They should not be scattered through the normal before-and-after set without captions.
Common deficiency photos include:
- Missing access panels
- Blocked access panels
- Damaged filters
- Loose fan components
- Missing or failed grease containment
- Heavy rooftop grease
- Leaking access panels
- Unsafe electrical conditions
- Areas outside the approved scope with visible grease
For each deficiency, include the photo, location, condition found, and recommended next step. A customer should be able to understand what needs attention without calling the office for translation.
Take photos before teardown
After photos should be captured before the crew removes containment, packs tools, or leaves the roof.
This gives the crew time to fix problems while still onsite:
- Blurry photos
- Dark photos
- Missing fan or duct photos
- After photos that do not match the before photos
- Grease streaks or residue that should be cleaned before handoff
- Unclear deficiency closeups
Do not let photo QA become an office-only task. The office can assemble the report, but the field crew is the only team that can retake a missing fan photo without another truck roll.
Use captions that explain the photo
Unlabeled photo galleries create extra work for everyone. Captions should identify the system, component, condition, and timing.
Use captions like:
- Main cookline hood plenum before cleaning
- Main cookline hood plenum after cleaning
- EF-1 fan bowl before cleaning
- EF-1 fan bowl after cleaning
- Rear duct access after cleaning
- Missing access panel above prep hood
Avoid captions like:
- Before
- After
- Hood
- Fan
- Problem
Short captions are fine. They just need enough detail to make the report understandable six months later.
What the final report should show
The final report should turn the photo set into a clear story:
- What the crew found before cleaning
- What areas were cleaned
- What the same areas looked like after cleaning
- What could not be accessed
- What deficiencies remain
- What the customer should do next
For frequency recommendations, connect the photo evidence to the next service date. Heavy grease found before the scheduled visit may support a shorter interval. Light buildup in a low-volume kitchen may support the current schedule. The kitchen exhaust cleaning frequency guide explains how to document that decision.
Photo QA checklist
Before sending the report, confirm:
- Every serviced hood system has before-and-after photos
- Fan photos are included for each relevant exhaust system
- Duct access photos are included when access was used
- Inaccessible areas are documented with photos and notes
- Deficiency photos are separated from completed-work photos
- Captions identify the system, component, and timing
- Photos are clear enough to understand without a phone call
- The written report matches what the photos show
If a photo does not help the customer understand the job, replace it, caption it better, or leave it out.
Build reports from the photo record
HoodCleaningReport builds customer-ready reporting software for kitchen exhaust cleaning contractors. It turns job photos, cleaning notes, deficiencies, access limits, service frequency, and signoff into branded reports, PDFs, client share links, and customer-ready records.
You can generate a photo checklist, review a sample report, generate a report structure, compare hood cleaning report software, or create a hood cleaning report when your next photo set is ready to become customer documentation.
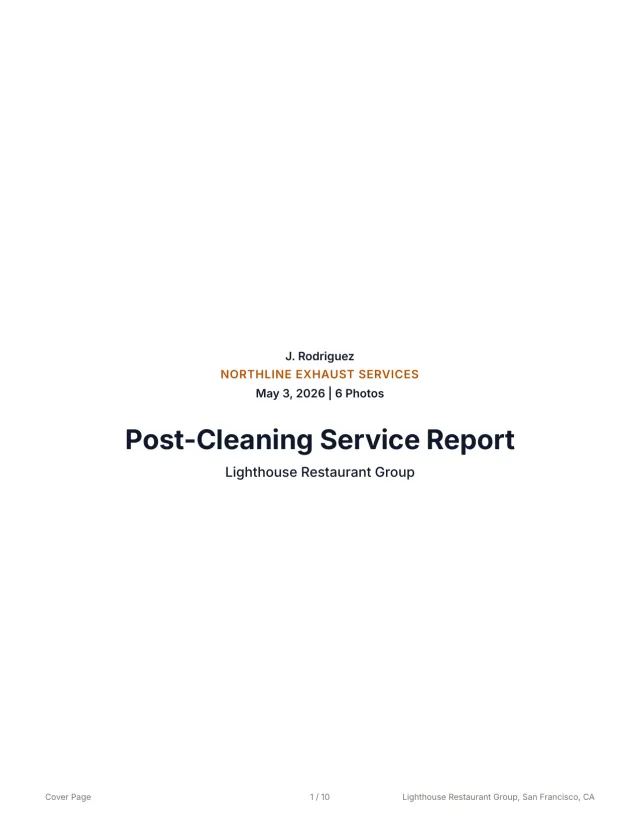 See a finished report The 10-page sample, the Certificate of Service, and the 3x5 sticker from one job.
 Related guides
Keep building the report record
Write missing access panel report notes that document inaccessible ducts, photo evidence, deficiencies, customer next steps, and customer-ready records.
Reporting Restaurant Hood Cleaning Report Template for Multi-Location AccountsUse this restaurant hood cleaning report template to document store details, hood systems, photos, deficiencies, service dates, PDFs, and account handoff.
Reporting Kitchen Exhaust Cleaning Report ExamplesUse kitchen exhaust cleaning report examples to structure job details, before-and-after photos, access notes, deficiencies, signoff, PDFs, and handoff.
Send your next job as a finished report.
Your photos become a branded report, a Certificate of Service, and a 3x5 sticker, under one job number.
3 reports or 3 days free. No card.